Using Burp Suite Professional Inside Exegol
This guide walks through how to get Burp Suite Professional working inside Exegol without burning through your allotted number of Burp Pro license activations. You will install and activate Burp Pro once and the host, and then with every new container you’ll have Burp Pro ready to use without installaing and activating again. This is possible because on Linux Burp maintains activation information in a local XML file, which makes it possible to copy that file to maintain activation across different containers. As this solution only works in Linux as far as I know, if you are on Windows or Mac, create a Linux VM and install Exegol there. Additionally, the Java version that comes with Exegol is somewhat old and notcompatible with recent versions of Burp Pro, so that will need to be updated too.
First, you’ll need to install Burp Pro on the main host where you plan to use Exegol. Install it in the ~/.exegol/my-resources/bin directory to make the Burp JAR file available to all newly created containers. This is the only time you’ll use one of your license activations.
Since all the necessary files need to be placed in ~/.exegol/my-resources/bin/, change to that directory:
cd ~/.exegol/my-resources/bin/
On Linux, the installation typically involves running a Bash script such as burpsuite_pro_linux_arm64_v2024_8_5.sh.
After Burp Pro is installed and activated, you’ll need to copy Burp’s prefs.xml file.
cp ~/.java/.userprefs/burp/prefs.xml ./
As far as I know, Burp uses prefs.xml only on Linux systems. Copying this file into ~/.java/.userprefs/burp/ keeps Burp activated without needing to go through the activation process in the GUI, which means you won’t have to use a license activation. It also saves you from extra clicking, copying, and pasting.
Burp Pro also requires a version of Java newer than the one pre-installed in Exegol. You can download current and past versions from the Java archive page. The only requirement is that the Java version is compatible with Burp. I chose Java23, and since I’m running inside an Ubuntu VM on a Mac M2, I downloaded the Linux ARM variant.
wget https://download.java.net/java/GA/jdk23/3c5b90190c68498b986a97f276efd28a/37/GPL/openjdk-23_linux-aarch64_bin.tar.gz
Due to limited command output and lack of interactivity during the initial creation of an Exegol container, this solution requires manually running a single Bash script after the container is created. Do not execute this script from the initial setup script that Exegol provides.
Create the following script named java-burp-setup.sh in the current directory, which should still be ~/.exegol/my-resources/bin/. If you downloaded a different Java archive then replace openjdk-23_linux-aarch64_bin.tar.gz with the name of the file you downloaded. The path /usr/lib/jvm/jdk-23/bin/java will also need to be changed to reflect the version you are using.
#!/bin/bash
cp /opt/my-resources/bin/openjdk-23_linux-aarch64_bin.tar.gz /usr/lib/jvm/
cd /usr/lib/jvm
tar -xzvf openjdk-23_linux-aarch64_bin.tar.gz
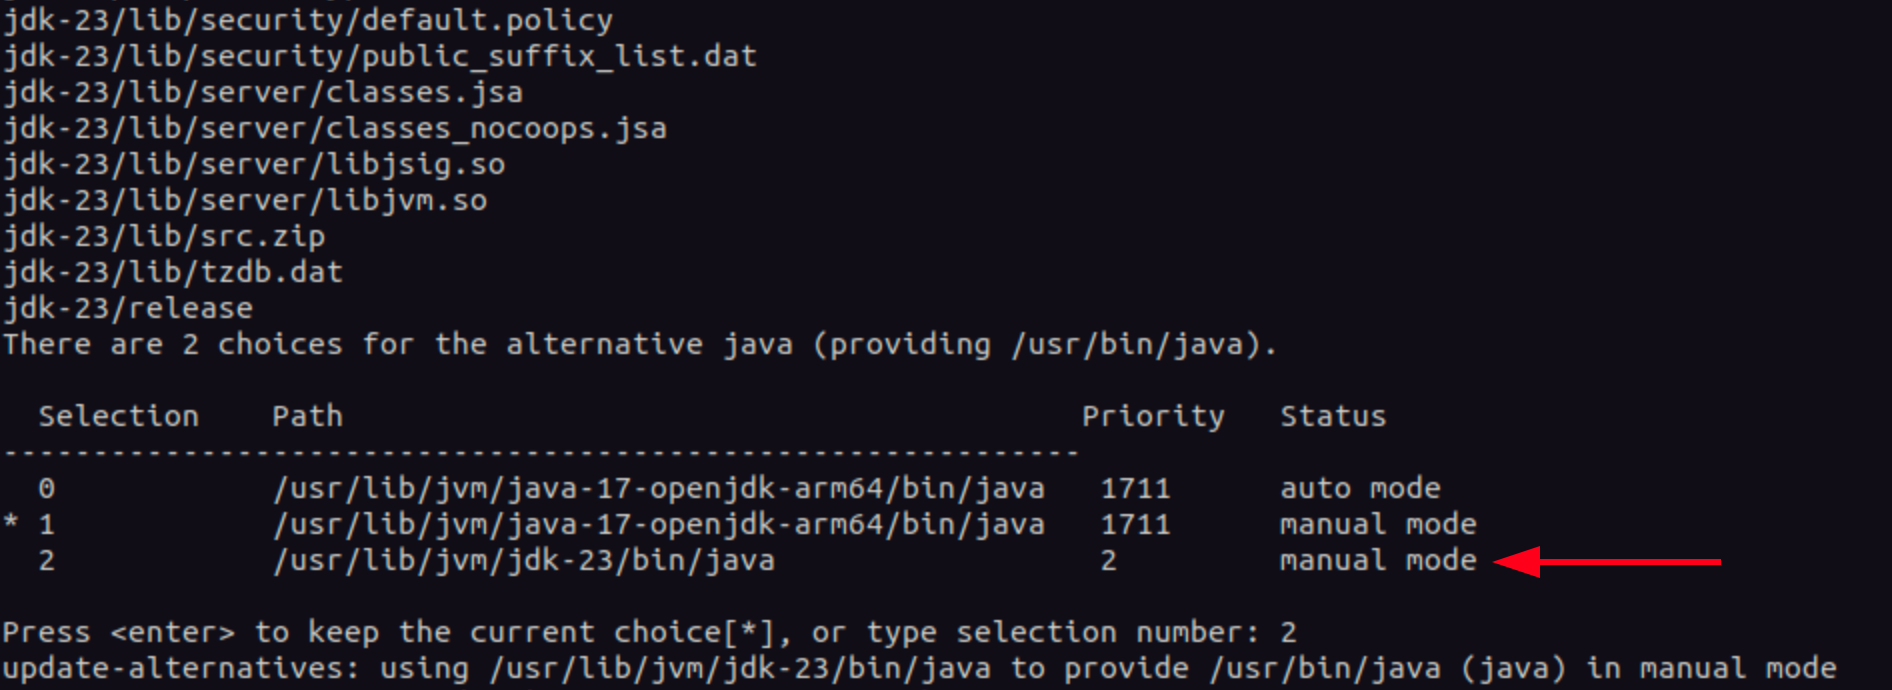
sudo update-alternatives --install /usr/bin/java java /usr/lib/jvm/jdk-23/bin/java 2
sudo update-alternatives --config java
cp /opt/my-resources/bin/prefs.xml /root/.java/.userPrefs/burp/prefs.xml
Make the script executable.
chmod u+x javasetup.sh
Start a new Exegol container, for example:
exegol start client1-expen nightly -cwd -e SHELL=/bin/zsh
The setup script only needs to be run once when the container is first created.
/opt/my-resources/bin/java-burp-setup.sh
You will be prompted to select the version of Java you want to use.
Now you can start Burp.
java -jar /opt/my-resources/bin/BurpSuitePro/burpsuite_pro.jar
If you encounter an application that requires the older version of Java (I haven’t) you can temporarily switch to an older version with the following command.
sudo update-alternatives --config java