Creating Parrot OS Live USB With Persistence
You will need a somewhat fast flash drive. If you paid around $10 then your drive will probably be too slow to be usable. Samsung 128 GB 400mbs flash drives have worked well for me over the past few years. They’re often on sale at Amazon for $20. Regularly they’re around $40.
The first thing I do is backup my applications and files from the usb I’m about to decommission. That would include the applications I’ve installed in my /opt folder, and then my data and other files in a directory named Dev in my home directory. I also backup my dot files.
#!/bin/bash

# plugin an external drive and then `sudo fdisk -l` to get its number to use in the script, in the example below mine was /dev/sdd2

sudo mount /dev/sdd2 /mnt/backup

_now=$(date +"%m_%d_%Y")

# backup ~/Dev
_filename="/mnt/backup/dev_$_now.tar.gz"
sudo tar -czvf $_filename ~/Dev

# backup /opt
_filename="/mnt/backup/opt_$_now.tar.gz"
sudo tar -czvf $_filename /opt

# backup dotfiles
_filename="/mnt/backup/dotfiles_$_now.tar.gz"
find ~ -maxdepth 1 -type f -iname ".*" -exec tar cvf $_filename {} +
Flashing the USB
Next step is to download the latest Parrot ISO image and do a bit by bit copy of that ISO to your usb with balenaEtcher. Download links are available on their site but if you’re on a mac and use Homebrew you can:
brew install balenaetcher
Before flashing the USB make sure the correct drive is selected. Typically the brand name will be displayed by balenaEtcher but make sure that is the only drive you have selected so as not to unintentionally wipe any other drives.
After that’s done insert the USB and reboot your computer holding down the ‘option’ key on the Mac, and on most PCs the F12 key. Select the USB as the boot drive.
From Parrot’s boot menu select ‘Try/Install’ and wait for Parrot to boot up
Creating Persistence
After the boot process is complete open the terminal. Creating the persistence partition will require you to be the root user so switch to root with ‘sudo su’.
At this point, again, identify the usb stick with ‘fdisk -l’. In the examples below my drive was at /dev/sdb. Type the following commands
wipefs /dev/sdb

wipefs -o 0x8001 -f /dev/sdb

gparted
In the gparted gui, select the usb drive, right click on ‘Unallocated Space’ and click ‘New’.
Leave all the options as their defaults but change the ‘label’ input to ‘persistence’ and click ‘Add’.
In the main menu click ‘Edit and apply’ and then close gparted.
Back in the terminal
mkdir -p /mnt/usb

mount /dev/sdb3 /mnt/usb

echo "/ union" > /mnt/usb/persistence.conf
Close the terminal and reboot. Make sure to hold down the ‘option’ key on the Mac or F12 on PC to get to the boot menu. Boot from the USB and this time from Parrot’s main menu select ‘Advanced’ and then ‘Persistence’.
When that is finished Parrot is ready to use and any changes will persist between reboots.
Optional: Tools, Setup and Customization
Below are the basic tools and configurations that make it all more usable, efficient and visually pleasing.
First, you might want to change the default user from ‘user’ to your own username represented by ‘new_name’ below.
usermod -l new_name -d /home/new_name -m user

groupmod -n new_name user
Set a password
passwd
Unfortunately this will reset to ‘toor’ between reboots so you will need to run the ‘passwd’ command each time.
Your user by default has sudo privileges that don’t require a password, which I am not comfortable with. It’s best to edit the ‘/etc/sudoers.d/live’ file and change that line to
user ALL=(ALL:ALL) ALL
If you’ve already changed your username then replace ‘user’ with that name.
Also, always run ‘sudo parrot-upgrade’ and never ‘sudo apt update && sudo apt upgrade’ to update the system. Mate Theme Customization
I use a customized theme and for some reason window icons and the mouse cursor don’t load correctly on reboot. So after each reboot I have to click ‘System | Preferences | Look and Feel | Appearance’ from the main Parrot menu, select my saved theme and then click Customize again and re-select my options on the “Controls” tab only. All other options save between reboots.
Custom themes can be downloaded from here and custom icons from here. To install just unpack the files and move the theme folders to /usr/share/themes/ and icon folders to /user/share/icons/. For the icons you will probably also need to edit the Inherits variable in the icon.theme file to choose better fall backs for any icons not in the icon set. I have that set to the following for the candy icon set:
Inherits=ara-dark,maia,Adwaita,gnome,hicolor
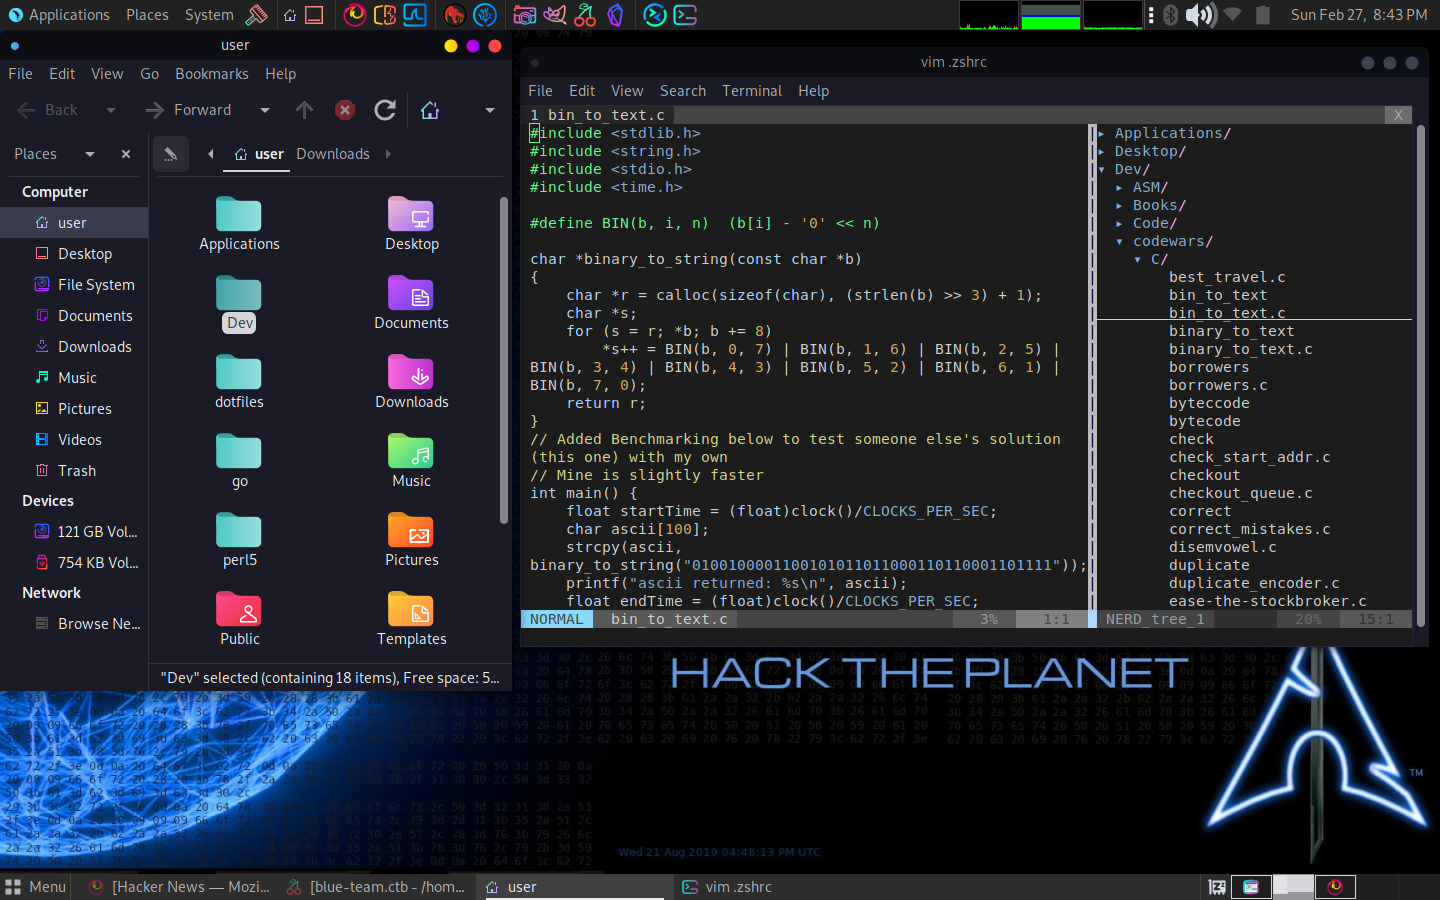
Below is a screenshot of the theme’s Controls set to Tokyo Night Dark, Window Borders to Sweet Dark v40 and Icons to Candy Icons.
Oh My Zsh
While you can always ctrl+r in the terminal to search for previously used commands I find the autosuggestions plugin works a lot better. When you begin typing in the terminal a greyed out completion/suggestion of a past command will appear to the right of your cursor and dynamically update as you type. You can hit the right arrow key to complete the command or click the up arrow to scroll through similar commands that started with whatever you’ve typed up to that point.
sudo apt install zsh
sh -c "$(curl -fsSL https://raw.githubusercontent.com/robbyrussell/oh-my-zsh/master/tools/install.sh)"

#The following 'sudo chsh' line is only necessary if, for example, you mistype your password when it attempts to change your shell
sudo chsh -s /usr/bin/zsh

git clone https://github.com/zsh-users/zsh-autosuggestions.git $ZSH_CUSTOM/plugins/zsh-autosuggestions

git clone https://github.com/zsh-users/zsh-syntax-highlighting.git $ZSH_CUSTOM/plugins/zsh-syntax-highlighting
After that, open ~/.zshrc and replace the plugins variable that is there with
plugins=(git git-prompt zsh-autosuggestions zsh-syntax-highlighting tmux)
I also like this Oh My Zsh theme.
ZSH_THEME="mikeh"
It’s prompt can be seen in the screenshot at the bottom of this post. If you want the changes to take effect immediately in the terminal you just made the changes in type ‘source ~/.zshrc’
Vim
Parrot OS has vim symlinked to neovim so to install the following vim plugins you need to remove neovim. The setup below installs useful plugins like nerdTree and has intuitive shortcuts for tabs, etc.
sudo apt remove neovim

git clone --depth=1 https://github.com/amix/vimrc.git ~/.vim_runtime

sh ~/.vim_runtime/install_awesome_vimrc.sh
Tmux
I use this tmux configuration. You can follow all of the instructions from the README of that repository, which is fine and the correct way to do that, but I usually just wget the .tmux.conf file only. Create a backup of your current ‘.tmux.conf’ file first.
cd ~
wget https://raw.githubusercontent.com/gpakosz/.tmux/master/.tmux.conf -O ~/.tmux.conf
echo 'set-option -g mouse on' >> .tmux.conf
This line set-option -g mouse on that I add to the bottom of the configuration file is for automatic scrolling with the touchpad or mouse wheel. There are other scroll configurations mentioned in the README on the github page.
This tmux config makes scrolling with a trackpad or mouse wheel automatic and easy, changes the prefix key from ‘ctrl+b’ to ‘ctrl+a’ and creates a nice toolbar at the bottom of the terminal (See screenshot at bottom of this post).
Bloodhound
Unlike on Kali, Bloodhound is not installed by default and installing directly using apt will cause issues with the neo4j dependency. Instead, install neo4j and bloodhound following these instructions. Obsidian
For note taking I install Obsidian. I use that with Git so that I can easily keep a synced repository of notes on all my machines and VMs. Unlike every other linux distribution I’ve installed Obsidian on, including Kali, I cannot get the Obsidian icon to appear in the panel that shows open applications. I’ve used appimage launcher, edited the obsidian.desktop file in multiple places and still have not solved this issue. The icon does appear everywhere else, just not in the open applications panel widget. Terminal Color Palette
The color palette used in the Parrot terminal is bright green and hard on the eyes. That can easily be changed by Installing Gogh and setting up a few color profiles. It’s best to clone that directly from the GitHub repo and run it manually rather than using the instructions at the first link. If you’re already using Zsh make sure to open the theme files you want to install and add ‘export’ before the BASE_URL variable as the comment in each theme’s shell script instructs:
You can then run
/opt/Gogh/gogh.sh
and select any of the themes to install.
Below is a screenshot of the Tokyo Night Storm color palette.